Secure VPN is based on WireGuard.
Connecting to Secure VPN
Windows
- Install WireGuard, download Windows installer here
- Create configuration file
sensitive-vpn.confin your personal, safe directory, e.g.,C:\Users\<username>\Documents\sensitive-vpn.confwith content that you obtained from our team. Example of configuration file:
    [Interface]
    PrivateKey = DESKTOP_CLIENT_PRIVATE_KEY
    Address = 10.0.0.2/24

    [Peer]
    PublicKey = SERVER_PUBLIC_KEY
    Endpoint = SERVER_IP_ADDRESS:PORT
    AllowedIPs = 0.0.0.0/0
- Run
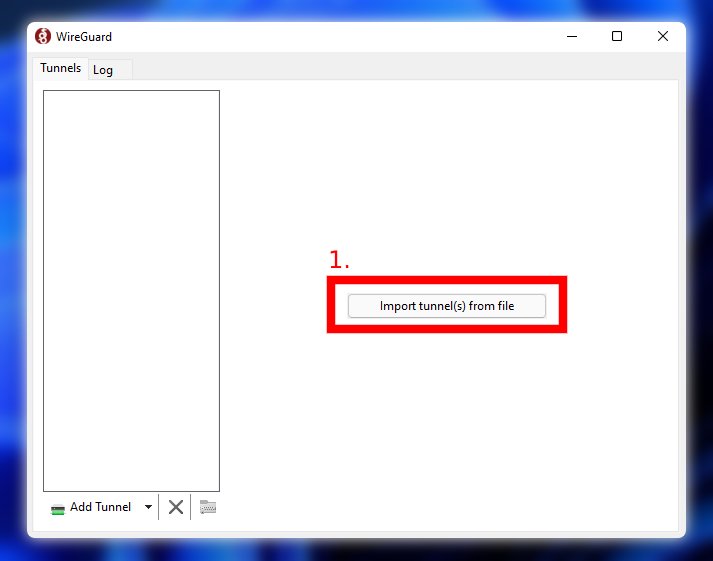
WireGuardapplication. - In the
WireGuardapplication, chooseImport tunnel(s) from fileand select thesensitive-vpn.confstored in the 2nd step.
- In order to activate the tunnel
(1) Select the tunnel you want to activateand(2) Activate the tunnel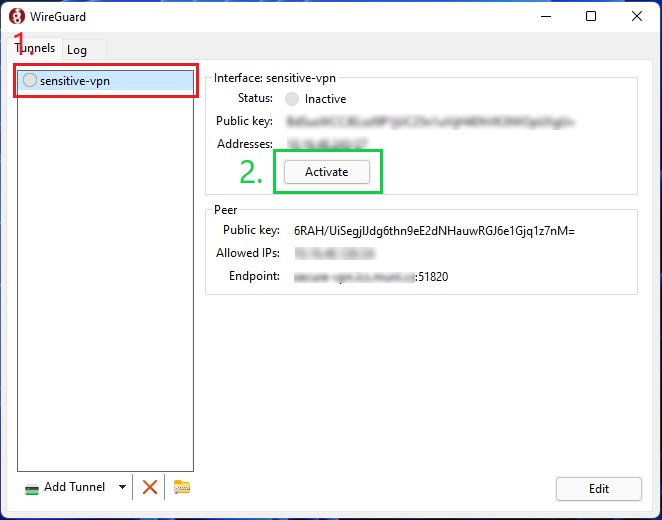
- Tunnel is activated, to disable tunnel use
Deactivatebutton.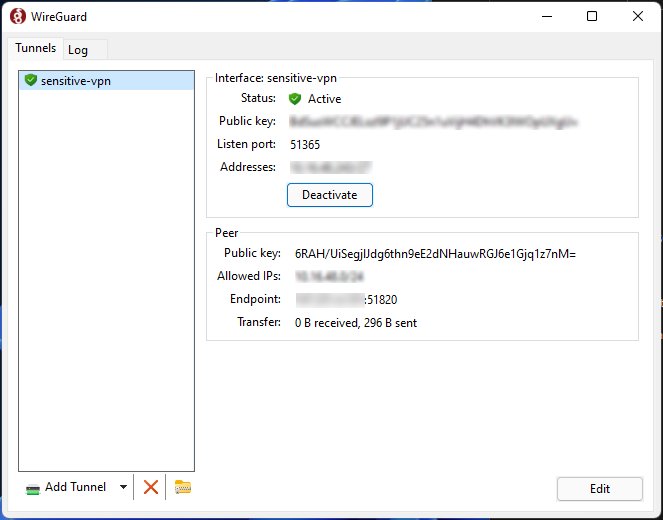
Linux based OS
- Install WireGuard, download for Linux here
- Create configuration file
/etc/wireguard/wg0.confwith content that you obtained from our team.
Example:
    [Interface]
    PrivateKey = DESKTOP_CLIENT_PRIVATE_KEY
    Address = 10.0.0.2/24

    [Peer]
    PublicKey = SERVER_PUBLIC_KEY
    Endpoint = SERVER_IP_ADDRESS:PORT
    AllowedIPs = 0.0.0.0/0
- In order to activate the tunnel, enter into
terminaland use following command:wg-quick up wg0 - To check tunnel stats (if tunnel is active) use:
wg-quick show - To deactivate the tunnel use:
wg-quick down wg0
NEXTStorage Secrets