The following text describes how to install GitLab Kubernetes Agent step by step.
Following the steps should leave you with functional agent and knowledge of making manifest files.
Prerequisites
- Namespace on your cluster
- Gitlab repository
- kubectl
Define a configuration repository
In your desired repository, add the agent configuration file: .gitlab/agents/<agent-name>/config.yaml
Make sure that <agent-name> conforms to the Agent’s naming format.
gitops:
    manifest_projects:
        - id: <Your Project ID>
          default_namespace: <Your Namespace>
          paths:
              - glob: '/manifest/*.{yaml,yml,json}'
Note: <Your Project ID> can be replaced by your project path.
Connect to cluster
-
Register agent and get agent token.
In your project go to:
Infrastructure -> Kubernetes clusters -> Install a new agent
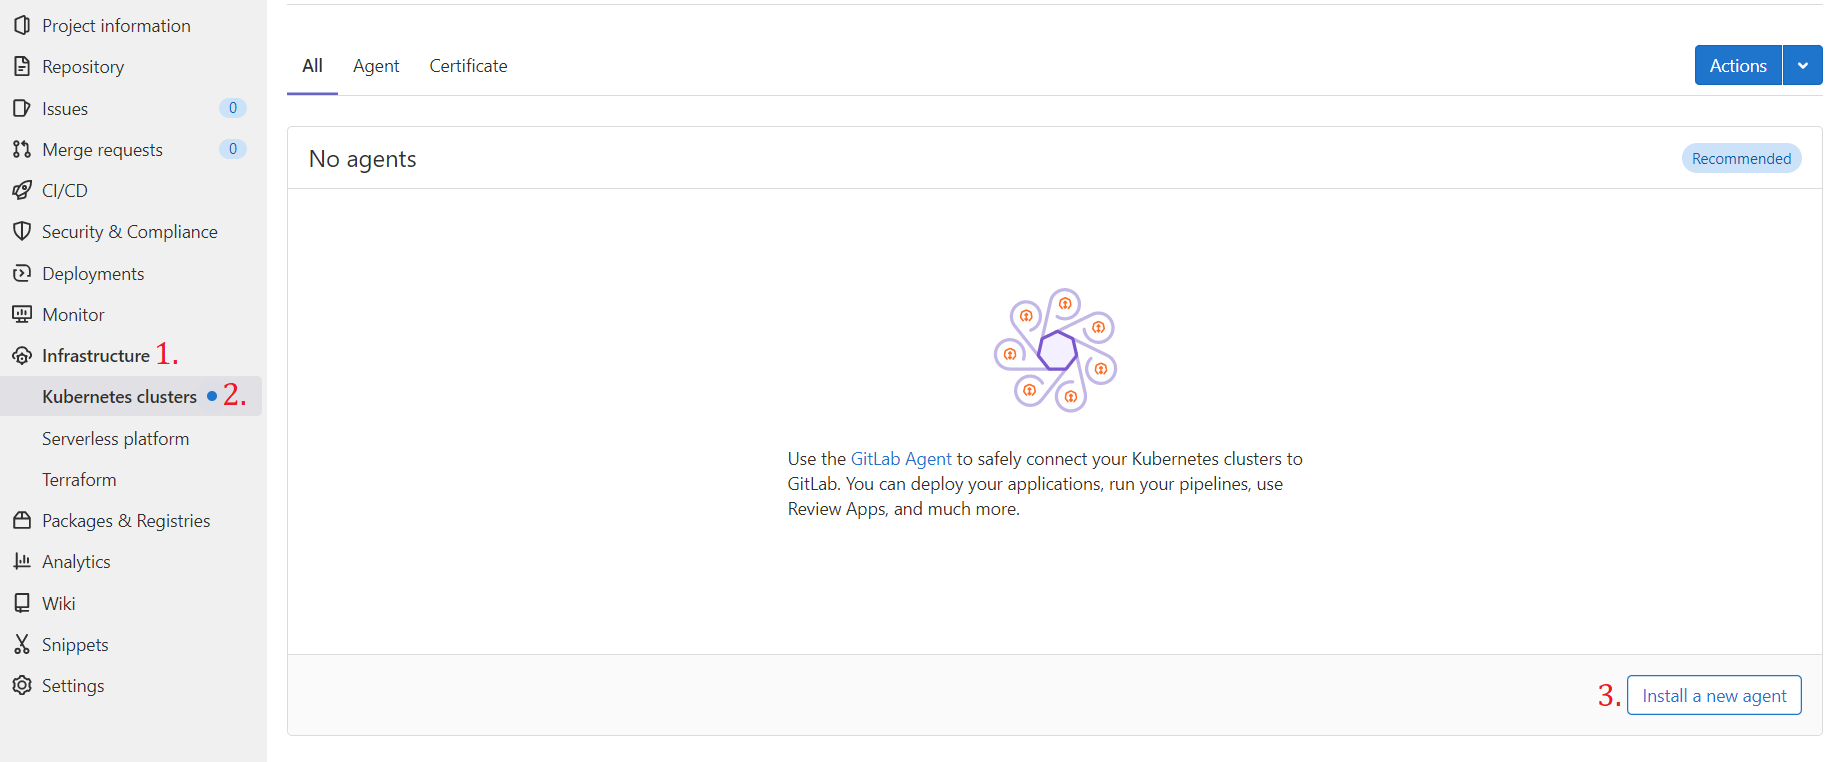
Select an agent -> Register
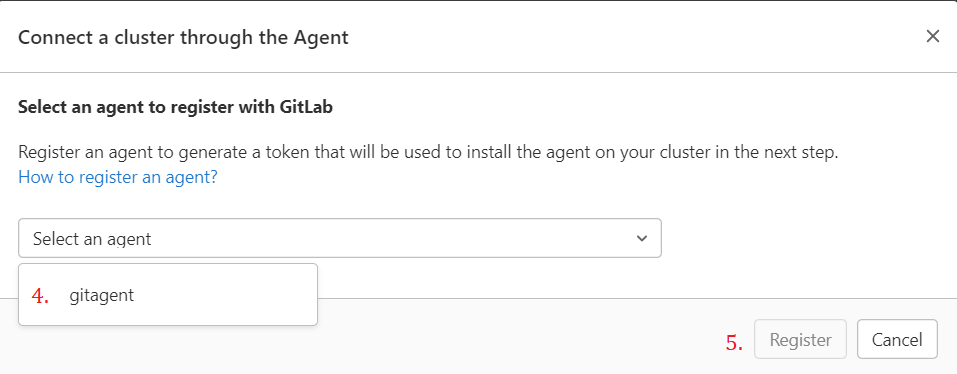
An agent token will appear, copy it. Be careful, the token is not accessible twice.
-
Make an opaque secret named
gitlab-kubernetes-agent-tokenwithkey named token,value=<Your Agent Token>By kubectl:
kubectl create secret generic -n <Your Namespace> gitlab-kubernetes-agent-token --from-literal=token=<Your Token> -
Download deployment file resources.yaml.
In the file, in this section:
apiVersion: rbac.authorization.k8s.io/v1
kind: Role
metadata:
  name: gitlab-kubernetes-agent-role
rules:
- resources: ["configmaps", "secrets", "pods"]
  apiGroups:
  - ""
  verbs: ["get", "list", "watch", "create", "update", "delete", "patch"]
- resources: ["deployments", "statefulsets"]
  apiGroups:
  - "apps"
  verbs: ["get", "list", "watch", "create", "update", "delete", "patch"]
Specify the resources and verbs to your choosing. You can list all resources you have permission to by this command
kubectl api-resources --verbs=list -n <Your Namespace> -
Apply the deployment with the following command:
kubectl apply -n <Your Namespace> -f resources.yaml -
Check if the agent is running. Either in rancher or using kubectl
kubectl get pods -n <Your Namespace>
Manage deployments
- In your repository make manifest file:
/manifest/manifest.yaml
For the purpose of testing the agent, we will make simple manifest file that will create ConfigMap in <Your Namespace>.
apiVersion: v1
kind: ConfigMap
metadata:
  name: test-map
  namespace: <Your Namespace>  # Can be any namespace managed by you that the agent has access to.
data:
  key: value
If everything went smoothly, you should have a ConfigMap named test-map. ***