 Documentation
Overleaf
Running Overleaf
If you are not already logged in, log in to rancher.cloud.e-infra.cz. See the Rancher section for details.
Overleaf is a collaborative LaTeX editor. The Community Edition Plus (CEP) deployment includes references, linked-url-proxy, and Zotero integration. The application runs as a single pod with MongoDB and Redis sidecars, with persistent storage for project files and compile output.
Entering the correct email address is crucial. Without it, you will not receive the activation email and will not be able to log in. Double-check the email before installing.
Stored data is not backed up by default. If you need backups, contact support.
User registration is disabled. Only the initial admin user and users invited via email link can log in. Additional users can be invited by sending an invitation link from within Overleaf after logging in as an admin.
Install the application
Make sure you have not selected a namespace and see User namespaces only at the top of the Rancher page.
Navigate through Apps, Charts, restrict charts to cerit-sc only, and select Overleaf CE Plus.
The activation email may be dropped into your spam folder. If you do not receive it within a few minutes, check your spam folder.
Set your account password
After the application starts, the initial admin user is created automatically and an activation email is sent to the address you entered. The email contains a link to set your password.
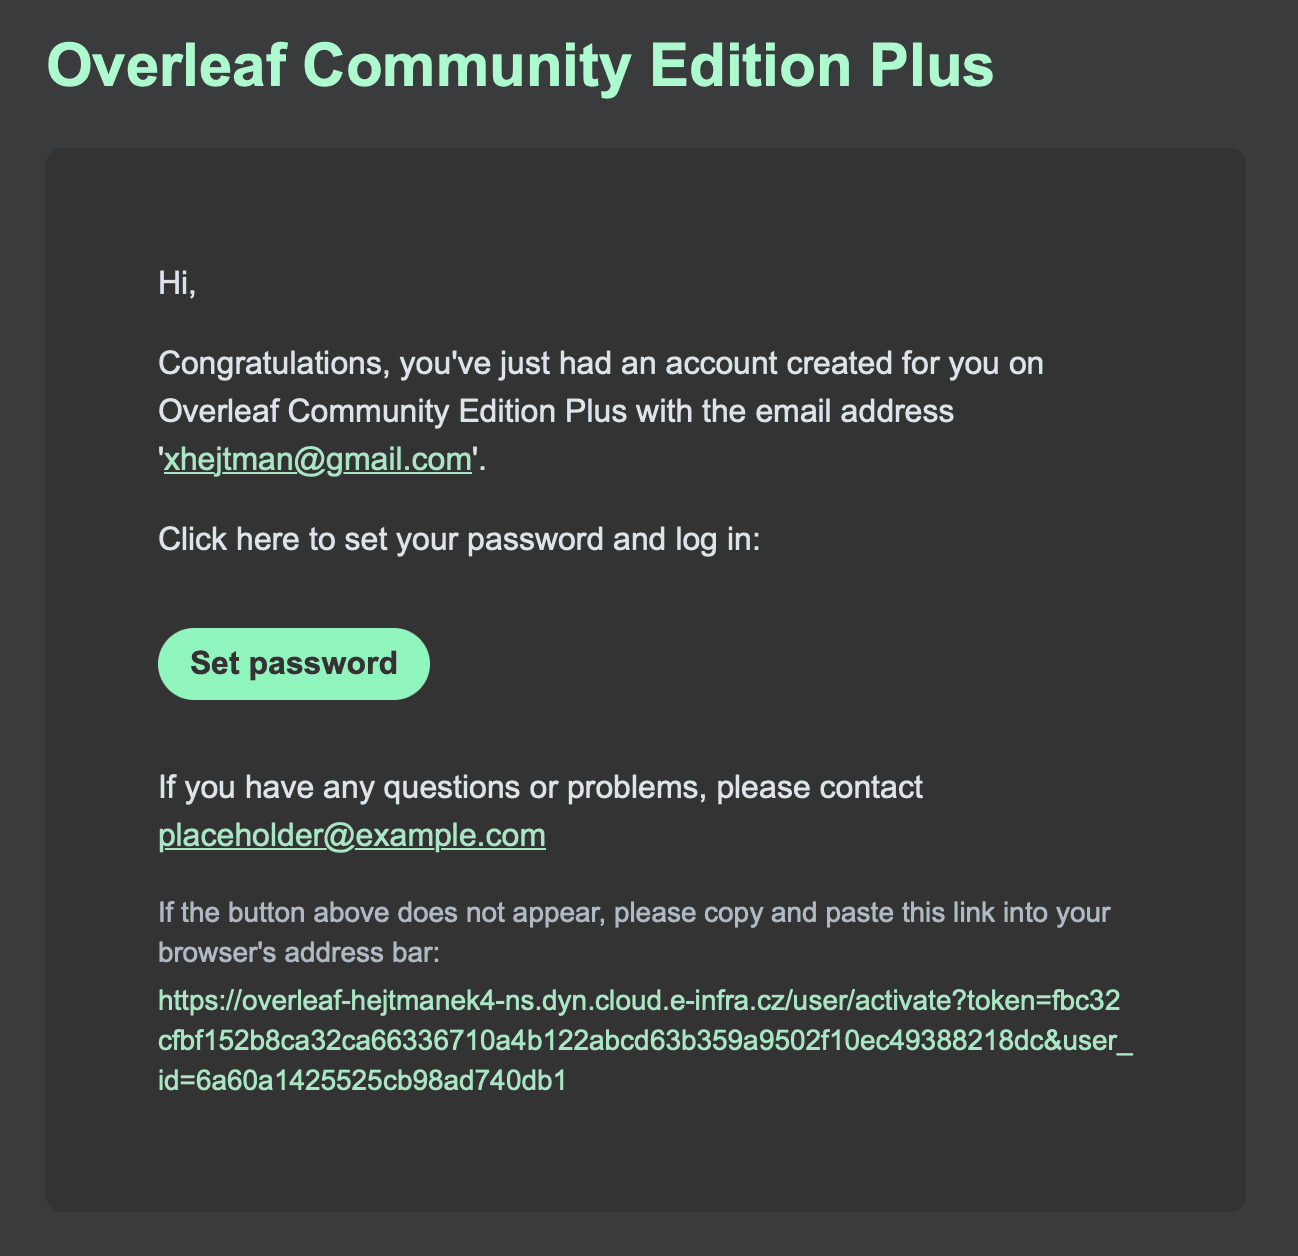
Click the link in the email to set your password and activate your account. If you do not receive the email within a few minutes, check your spam folder.
If the entered email was not correct, you will not receive the activation email and will not be able to log in. In that case, delete the application and start again with the correct email, or contact support.
You will be redirected to the Overleaf application directly.
Connecting to the Running Instance
Once the application is running and you have activated your account, navigate to the URL shown in the installation notes:
https://<host>-<namespace>.dyn.cloud.e-infra.cz/Log in with your email and the password you set during activation.
Delete Running Instance
If you decide you no longer need the application, you can delete it. This will remove the application and all associated Kubernetes resources.
Deleting the application removes all data, including projects, files, and compile output, even if you have persistent storage enabled. Note that stored data is not backed up by default. If you need to recover data after deletion, contact support.
To permanently delete the application including all data, delete the application from Apps → Installed Applications.